Hello,
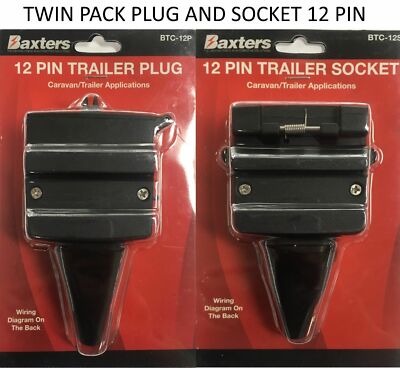
I have a 2016 Jayco Starcraft Outback 17.58-3 in which the 12-pin plug on the caravan end as well as car end need replacing.
Looks like the below Narva parts will do the trick, unless there is something more heavy duty to consider using.
Caravan fridge (Thetford N504) is powered through the 12-pin plug and works well, although started to melt a little and wiring on caravan end started to corrode (photo attached).
Questions:
-Anything better to consider than the below Narva parts? If not, seems good enough to replace every several years if required.
-Is something like the below heatshrink wrap from Jaycar good to wrap around the wiring and onto the 12-pin plug to make it sealed with a heat gun?
 www.narva.com.au
 www.narva.com.au
 www.jaycar.com.au
I have a 2016 Jayco Starcraft Outback 17.58-3 in which the 12-pin plug on the caravan end as well as car end need replacing.
Looks like the below Narva parts will do the trick, unless there is something more heavy duty to consider using.
Caravan fridge (Thetford N504) is powered through the 12-pin plug and works well, although started to melt a little and wiring on caravan end started to corrode (photo attached).
Questions:
-Anything better to consider than the below Narva parts? If not, seems good enough to replace every several years if required.
-Is something like the below heatshrink wrap from Jaycar good to wrap around the wiring and onto the 12-pin plug to make it sealed with a heat gun?
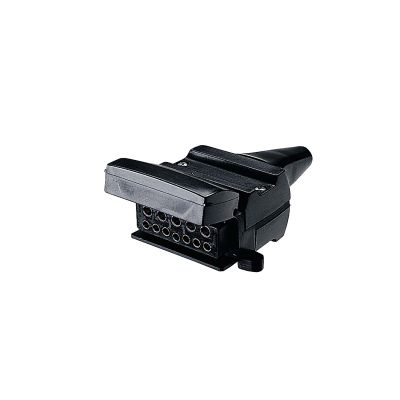
12 Pin Flat Trailer Socket
www.narva.com.au
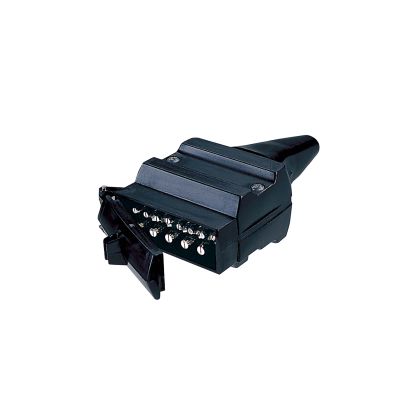
12 Pin Flat Trailer Plug
www.narva.com.au
Heatshrink Tape - Black | Jaycar Electronics
Ideal for emergency repairs or when you aren't able to use a piece of tubing. It conforms to odd shapes that heatshrink tubing is unable to.